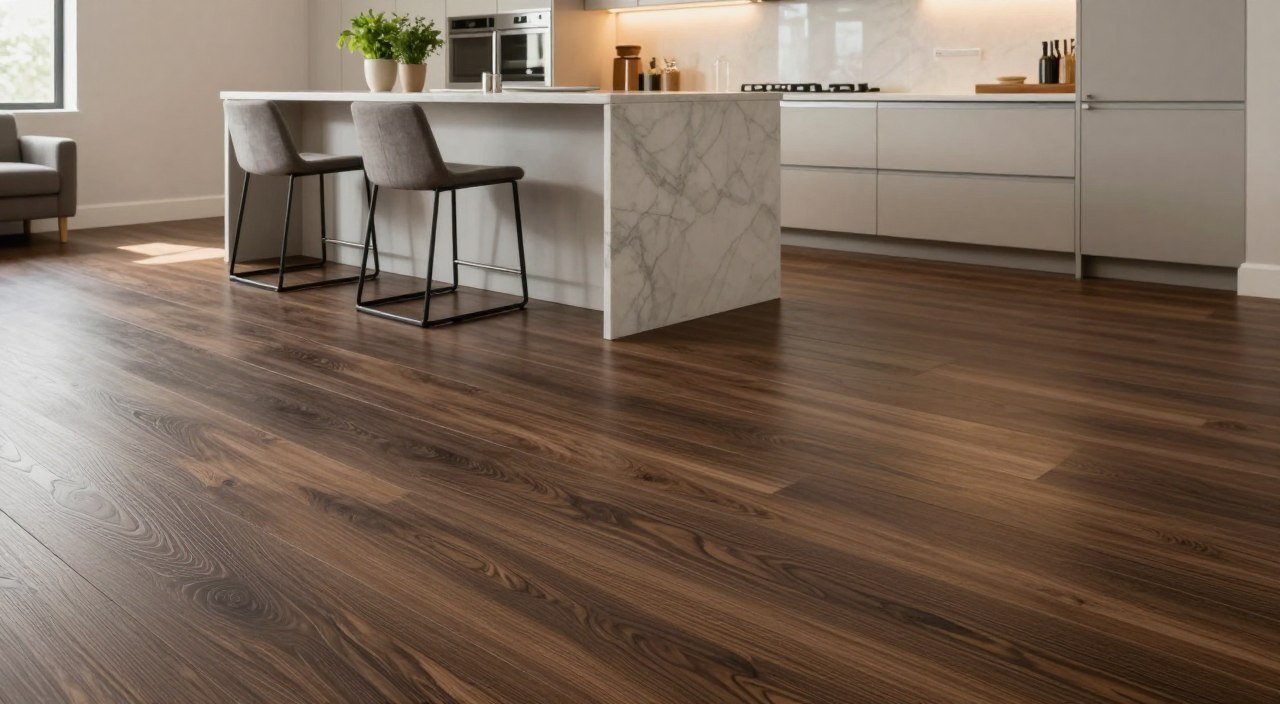
Your kitchen is the heart of your home. It deals with spills, steam, and lots of foot traffic. Choosing the right materials is essential to keep it looking good and safe.
When picking waterproof kitchen flooring, think about both looks and durability. You need something that can handle moisture to protect your floor. This way, your kitchen can last through daily life.
We’ll look at the best options for kitchen flooring. These choices are both stylish and tough. Knowing about these materials will help you choose wisely for your kitchen.
Key Takeaways
- Prioritize moisture resistance to avoid costly structural repairs.
- Select materials that balance high durability with your unique home style.
- Consider how daily traffic impacts the longevity of your chosen surface.
- Focus on easy maintenance to keep your space looking brand new.
- Evaluate the long-term value of your investment before starting renovations.
Assessing your kitchen needs and moisture levels
Choosing the right floor starts with knowing how your family uses the kitchen. Before buying new materials, think about your home’s needs. Picking waterproof kitchen flooring means understanding your daily habits and kitchen layout.

Evaluating daily traffic patterns
Your kitchen floor gets a lot of use. Find the high-traffic zones like paths to the fridge, stove, and sink. These spots need tough materials to last longer.
Think about how many people use the kitchen at busy times. If it’s busy with pets or kids, water-resistant flooring for kitchens is a good choice. It protects against scuffs and heavy use. Planning for these patterns helps your floor stay beautiful.
Identifying potential water hazards
Moisture is a big problem for kitchen floors. Look for places where water might get in, like under the dishwasher or near the sink. Even small leaks can harm the floor if it’s not sealed well.
Proactive planning means checking for moisture near fridges or ice makers. Spotting these risks early helps you pick a waterproof kitchen flooring that protects well. This keeps your floor safe from spills and humidity.
Measuring your kitchen space accurately
Getting the right amount of material is key. Measure your kitchen’s length, width, and any special areas. Always add a 10% buffer for cuts and waste.
Using water-resistant flooring for kitchens means having enough for a smooth look. Accurate measurements help you stay on budget and avoid delays. See the table below for how different kitchen areas affect your choice.
| Kitchen Zone | Moisture Risk | Traffic Level | Recommended Durability |
|---|---|---|---|
| Sink Area | High | Medium | Maximum |
| Cooking Station | Medium | High | High |
| Dining Nook | Low | Medium | Moderate |
| Entryway | Medium | High | High |
Understanding the top rated waterproof floors
Your kitchen needs a floor that looks good and keeps water out. The top rated waterproof floors make your kitchen both pretty and useful for a long time. By looking at what modern materials offer, you can pick the best one for your home.
Luxury Vinyl Plank (LVP) benefits
Luxury Vinyl Plank is loved for its durable kitchen flooring look like real wood. It has a strong core that keeps water out, perfect for busy kitchens. It’s also a cost-effective waterproof kitchen flooring choice that feels nice to walk on.

Porcelain and ceramic tile durability
Porcelain and ceramic tiles are top picks for lasting performance. They don’t let water in, making them great for kitchens. Because they’re made at high heat, they’re tough against scratches, heat, and heavy use.
Engineered stone composite options
Engineered stone composites are the newest in flooring tech. They mix stone’s strength with modern locking systems. This makes a stable floor that won’t change with your kitchen’s humidity.
Comparing popular waterproof flooring choices
Finding the right water-resistant flooring for kitchens can be hard. You need to think about the cost and how long it will last. This helps keep your kitchen looking good for a long time.

Cost-benefit analysis of materials
It’s important to know what you’re getting for your money when picking affordable waterproof kitchen flooring. Some things cost more upfront but last longer. This can save you money in the long run.
| Material Type | Initial Cost | Durability | Best For |
|---|---|---|---|
| Luxury Vinyl Plank | Moderate | High | DIY Installers |
| Porcelain Tile | High | Very High | High Traffic |
| Engineered Stone | Moderate | High | Modern Aesthetics |
Aesthetic versatility and design trends
Today’s design trends focus on materials that look like real wood or stone but are easier to care for. You can find top rated waterproof floors that look like real wood or concrete. This lets you have a fancy look without the upkeep.
Many people like wide-plank vinyl for its big, open look. It makes small kitchens feel bigger. You can pick from many styles, from simple to farmhouse, and find a waterproof option that matches your taste.
Maintenance requirements for busy households
For families who are always on the go, easy to clean kitchen floors are a must. You want floors that don’t stain easily and don’t need harsh cleaners. Most waterproof floors just need a quick sweep and a damp mop to stay clean.
Consistency is key to keep your floors looking good. Wipe up spills right away to stop moisture from getting into the floor. This simple step can make your floors last longer, no matter what they’re made of.
Preparing your subfloor for installation
Your kitchen renovation starts deep down. A durable kitchen flooring needs a good base. Preparing well protects your investment from damage.

Removing existing flooring materials
First, remove all old flooring. This includes linoleum, tile, or carpet. Make sure to get rid of all adhesive and debris. A clean, smooth surface is key for your new flooring.
Checking for moisture and levelness
After removing old flooring, check the subfloor. Use a moisture meter to see if it’s dry. Water can harm even the best popular waterproof flooring choices.
Also, use a straight edge to find any uneven spots. These could make your flooring shift.
Applying necessary underlayment barriers
Next, add a protective layer. An underlayment barrier keeps moisture out. It’s crucial for top rated waterproof floors to stay stable and quiet.
| Tool Name | Primary Function | Importance Level |
|---|---|---|
| Moisture Meter | Detects hidden water | Critical |
| Floor Leveler | Fills gaps and dips | High |
| Scraper | Removes old adhesive | Essential |
| Underlayment | Provides moisture barrier | Critical |
Step-by-step installation of waterproof vinyl planks
Getting a pro look for your kitchen floor starts with prep and precise steps. Many like these materials because they’re popular waterproof flooring choices. Follow a structured approach for a durable and beautiful floor.
Acclimating materials to your home environment
First, let your flooring adjust to your kitchen’s climate. Open boxes and leave them in the room for 48 hours. This step helps planks reach a stable temperature and moisture level, preventing gaps or buckling.
Keep the room’s temperature between 65 and 85 degrees Fahrenheit. Proper acclimation protects your investment and ensures a stable floor.
Executing the layout and first row placement
Measure your kitchen’s width to see if you need to trim the first row. Plan your layout carefully to avoid small pieces against the wall. Use spacers for a consistent expansion gap, key for affordable waterproof kitchen flooring.
Start with the first row, tongue side facing the wall. Make sure it’s straight, as it’s the floor’s foundation. If walls are uneven, scribe planks for a clean look.
Locking and securing planks for a seamless finish
Most vinyl planks have a click-lock system. Snap planks together without glue. Use a tapping block and rubber mallet to secure joints, hiding seams.
Stagger end joints by at least six inches for a natural look. This adds strength and beauty to your kitchen.
| Tool Name | Primary Function | Importance |
|---|---|---|
| Rubber Mallet | Securing joints | High |
| Tapping Block | Protecting edges | High |
| Spacers | Expansion gaps | Critical |
| Utility Knife | Cutting planks | Essential |
Using these tools right can give you a top-notch finish. Affordable waterproof kitchen flooring lets you save money while getting a high-end look.
Installing tile for maximum water resistance
Choosing tile for your home is important. The way you install it is key to stopping water damage. You need to pay close attention to every step to make sure your floor is water-resistant.
Applying mortar and setting the tiles
The first step to a waterproof floor is the right mortar. Use a special thin-set mortar for wet areas. This makes a strong bond between the tile and the floor.
Spread the mortar with a notched trowel. This makes sure the tile is fully covered. This stops water from getting through later.
«Quality is never an accident; it is always the result of high intention, sincere effort, intelligent direction and skillful execution.»
— William A. Foster
Ensuring proper spacing and alignment
Spacing tiles right is key for looks and strength. Use plastic spacers to keep everything square and even.
Check your work often with a level. A small mistake can make sealing hard later. Being precise here helps a lot.
Grouting for a watertight seal
After setting the tiles, apply a special grout to keep moisture out. Epoxy-based grout works best because it resists stains and water.
Fill the joints well with grout. A filled joint protects your floor from water. This keeps your floor dry for many years.
Waterproof kitchen flooring maintenance tips
Keeping your waterproof kitchen flooring looking great is easy. Just stick to a simple routine. This way, your home stays clean and looks good. These easy to clean kitchen floors need little effort if you follow some basic steps.
Daily cleaning routines for stain resistance
Start by sweeping or vacuuming every day. This removes dirt and keeps your floors looking new. Use a soft-bristle broom or a vacuum without a beater bar to avoid scratches.
For a deeper clean, use a damp mop with a special cleaner. Don’t use harsh chemicals or wax. Warm water and mild soap are usually enough for everyday cleaning.
Handling spills and deep cleaning methods
Spills happen, but act fast to avoid damage. Use a soft cloth to clean up spills right away. This helps keep your stain-resistant kitchen flooring looking good.
If a spot won’t go away, don’t use harsh scrubbers. Instead, use a small amount of special cleaner on a microfiber cloth. Deep cleaning every few months keeps your kitchen looking new.
Preventing long-term wear and tear
Choosing durable kitchen flooring is just the start. Use felt pads under heavy furniture to prevent scratches. This keeps your floors looking great for longer.
Also, put high-quality mats at entryways and near the sink. They catch dirt and moisture before it hits your floors. By following these steps, you’ll keep your floors in top shape. See the table below for a quick guide.
| Task | Frequency | Recommended Tool |
|---|---|---|
| Sweeping/Vacuuming | Daily | Soft-bristle broom |
| Spot Cleaning | As needed | Microfiber cloth |
| Deep Mopping | Weekly | pH-neutral cleaner |
| Furniture Protection | Ongoing | Felt pads |
Troubleshooting common flooring issues
Keeping your kitchen floor in good shape doesn’t always need a pro. Even tough floors can get small problems over time. With a few easy tricks, you can make your easy to clean kitchen floors look new again. No need to replace the whole floor.
Addressing minor scratches and scuffs
Scratches can happen when moving big things or dragging furniture. For small scuffs on vinyl or laminate, a color-matched touch-up marker or wax kit works great. Just buff the spot with a soft cloth to make it blend in.
For deeper gouges, try a special floor repair putty. Put it on carefully, smooth it with a plastic scraper, and let it dry. This fix keeps your stain-resistant kitchen flooring looking good by stopping dirt from getting in.
Repairing individual damaged planks or tiles
Many floors let you replace single pieces if they get damaged. For floating floors, take off the baseboards and remove planks row by row to get to the bad spot. Then, just click in a new plank that matches.
For glued-down tiles, warm the glue with a heat gun and then pry up the tile with a putty knife. Clean the floor well before putting in a new tile. Always save some extra planks or tiles for future repairs.
Managing edge swelling and moisture gaps
Edge swelling is often from water getting into the seams. If you see slight lifting, check for leaks or high humidity. Use a silicone-based sealant to keep water out.
Checking your kitchen for water is key to avoiding big problems. If gaps show up because of temperature changes, keep your home’s climate steady. Taking care of your floors helps them last for your daily use.
| Issue Type | Primary Cause | Recommended Fix |
|---|---|---|
| Surface Scuffs | Foot traffic or furniture | Buffing or wax marker |
| Deep Gouges | Dropped heavy objects | Color-matched putty |
| Edge Swelling | Excessive moisture | Sealant or dehumidifier |
| Loose Planks | Subfloor movement | Re-locking or adhesive |
Conclusion
Choosing the right waterproof flooring is key to protecting your home. It adds value and makes cleaning easier.
Materials like Coretec or Shaw Floors are great for busy homes. They keep your floors safe from spills and footprints.
Stain-resistant floors mean less cleaning and more fun in the kitchen. They stay looking new for years.
Now you know how to pick the best flooring. Visit a local showroom to see different styles and colors.
Your dream kitchen needs floors that are both stylish and strong. Start your renovation today for a better home.
FAQ
What are the best options for kitchen flooring to prevent long-term water damage?
For the best options for kitchen flooring, Luxury Vinyl Plank (LVP) and porcelain tile are top picks. COREtec and Mohawk SolidTech have 100% waterproof cores. Daltile porcelain is great for areas near sinks and dishwashers.
Are top rated waterproof floors difficult to maintain in a busy household?
No, they’re not. Top rated waterproof floors like LifeProof are easy to clean. You just need a damp mop and a pH-neutral cleaner. They stay new-looking, even with lots of foot traffic and spills.
How do I choose between popular waterproof flooring choices like vinyl and engineered stone?
It comes down to your budget and style. NuCore vinyl planks are warm and easy to install. Shaw Floors mineral core products are harder and more dent-resistant. Both are good, but stone composites feel more premium.
Can I find affordable waterproof kitchen flooring that still looks like real wood?
Yes, you can find affordable waterproof kitchen flooring that looks like real wood. Pergo Extreme uses advanced printing to mimic wood grain. It’s moisture-proof and affordable, giving you a luxury look without the high cost.
What is the most important step when preparing my subfloor for a new installation?
The most important step is making sure the subfloor is level, clean, and dry. Remove old debris and check for moisture before installing waterproof kitchen flooring. For tile, use Schluter-DITRA underlayment to prevent cracks and protect against water.
How do I handle accidental spills on stain-resistant kitchen flooring?
Even stain-resistant kitchen flooring needs quick action for spills. Wipe up acidic liquids like wine or vinegar right away. For Armstrong Flooring vinyl, a quick wipe with a microfiber cloth usually works.
What should I do if I notice minor scratches or edge swelling on my kitchen floor?
For minor scuffs on Luxury Vinyl Plank, use a repair kit or a concealment pen. For edge swelling, check your expansion gap. Brands like Bruce let you replace individual planks easily.